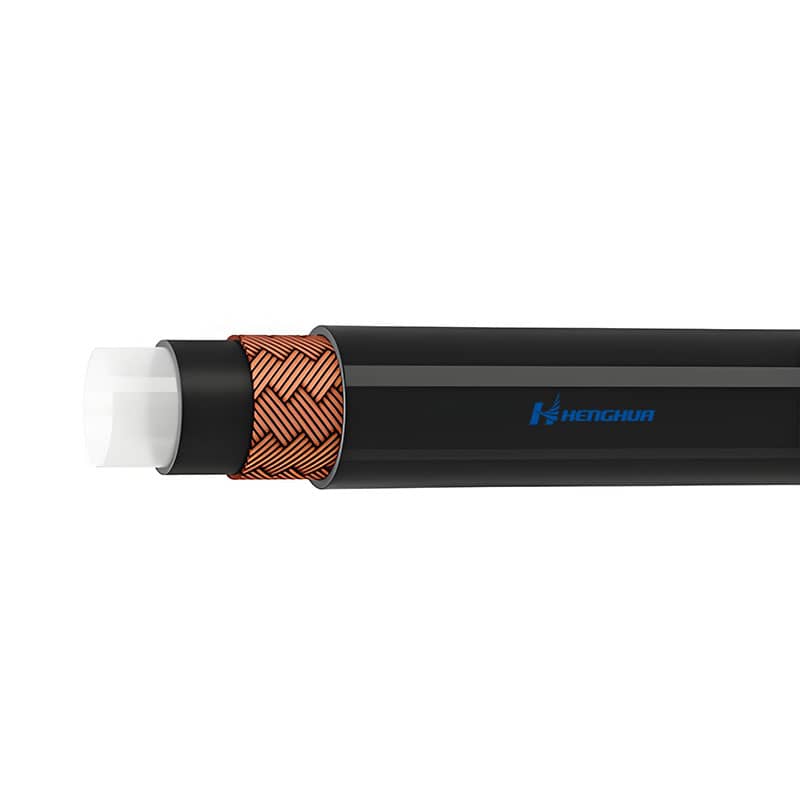
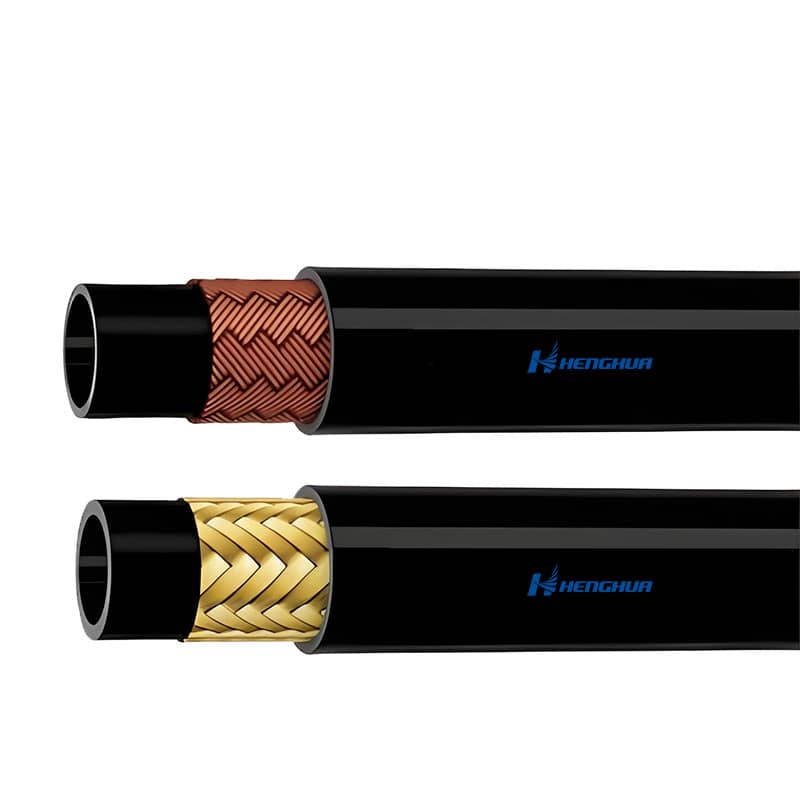
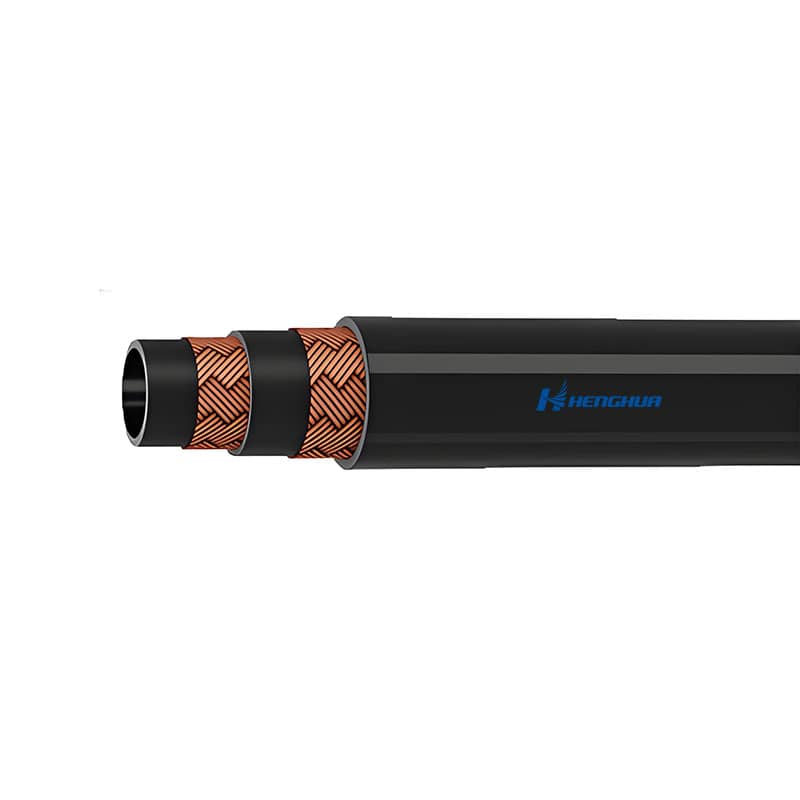
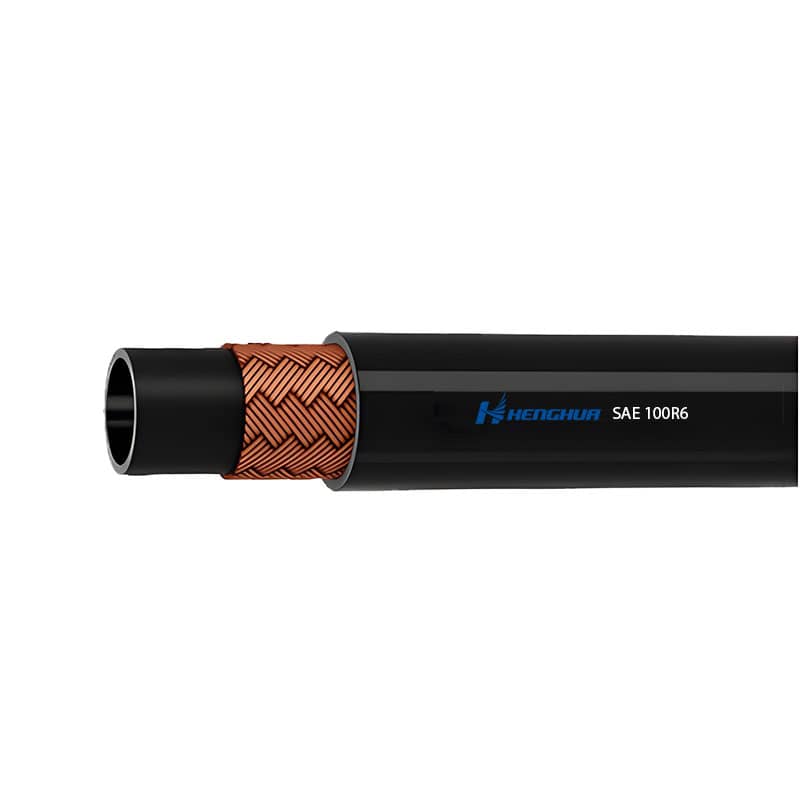
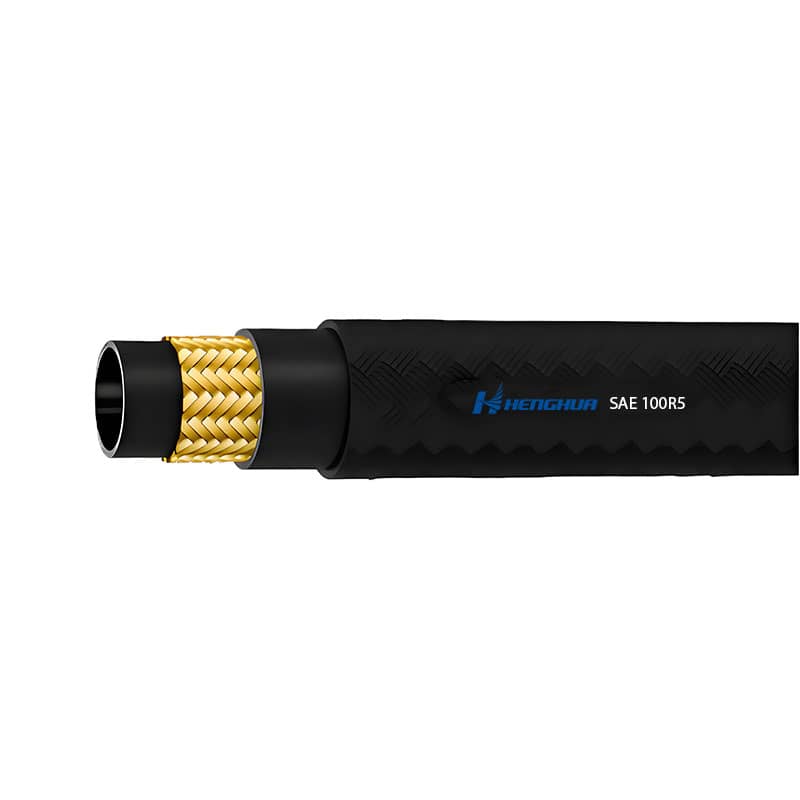
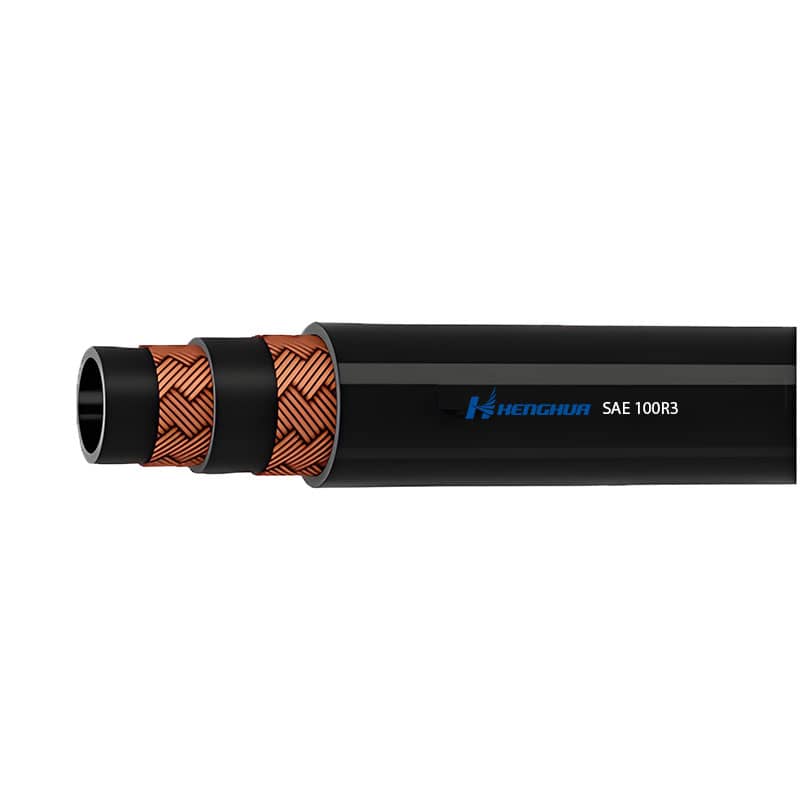
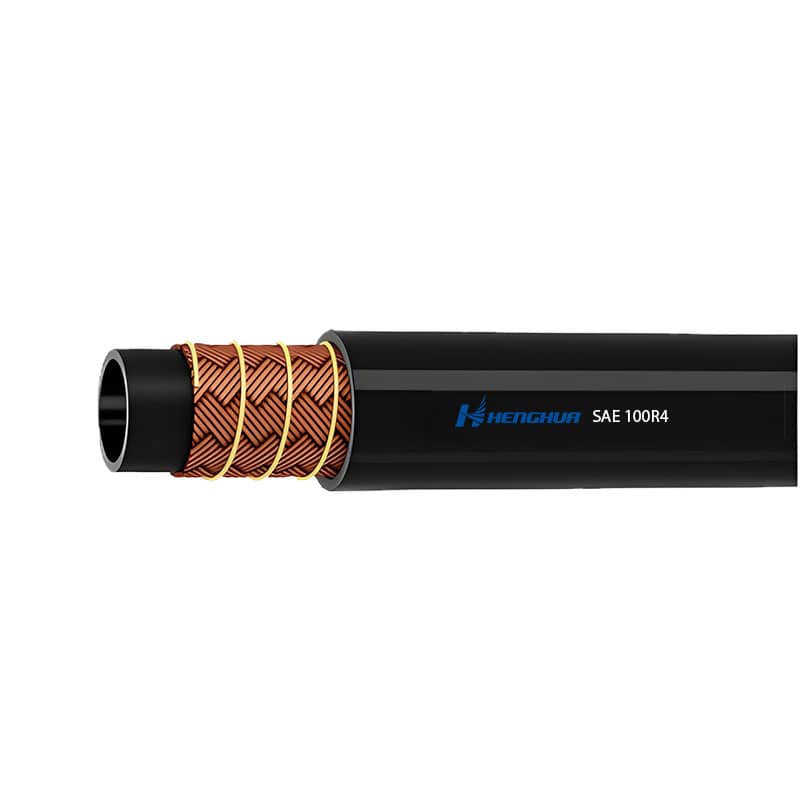
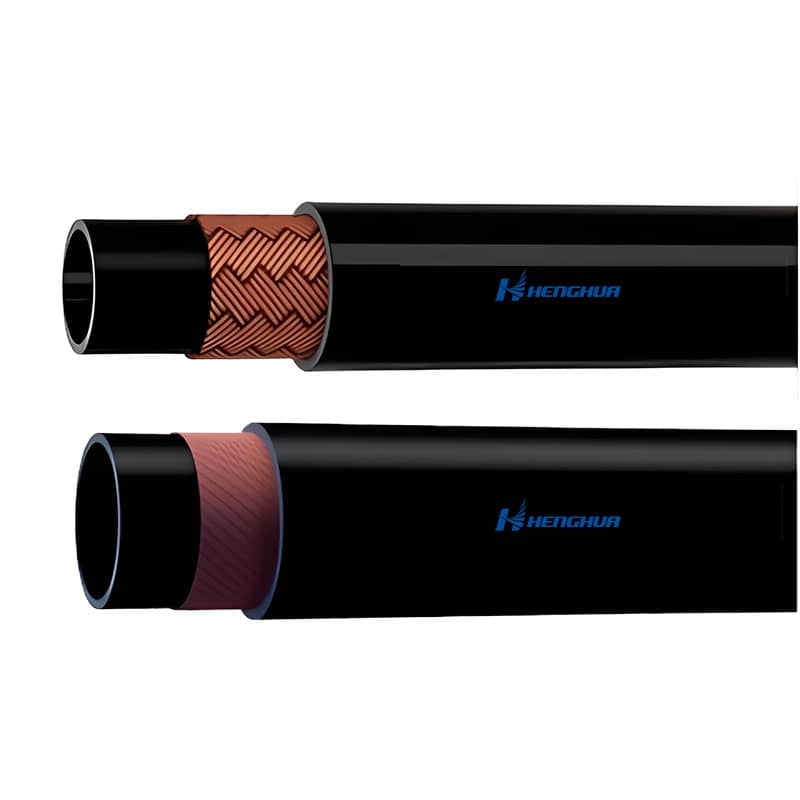
Hydraulic hose assemblies play a critical role in ensuring the efficient and safe operation of machinery and industrial systems. These assemblies enable the seamless flow of high-pressure fluids, powering essential components in industries like construction, manufacturing, agriculture, and aerospace. The quality and precision of hydraulic hose assembly directly impact system performance and reliability.
To assemble a hydraulic hose effectively, specialized tools and components are required. These include hydraulic hoses, fittings, connectors, and crimping machines. The right combination ensures that the hose withstands pressure and environmental conditions while maintaining a leak-free connection.
Understanding Hydraulic Hose Assembly
What Is a Hydraulic Hose Assembly?
A hydraulic hose assembly is a custom-built combination of a hose and fittings designed to transport hydraulic fluids under pressure. These assemblies are vital in converting fluid power into mechanical motion, enabling equipment to perform tasks like lifting, drilling, or cutting.
Key Components
- Hoses: Flexible tubes designed to handle pressure, temperature, and abrasion.
- Fittings: Connectors that link the hose to equipment, ensuring a secure seal.
- Connectors: Specialized parts that join hoses to systems or other hoses.
Applications in Various Industries
- Construction: Operates heavy machinery like excavators and loaders.
- Manufacturing: Drives automation systems in factories.
- Agriculture: Powers tractors, harvesters, and irrigation systems.
- Aerospace: Maintains hydraulic systems in aircraft.
By understanding the purpose and components of hydraulic hose assemblies, businesses can ensure the reliability of their systems while minimizing downtime.
Tools and Equipment You’ll Need
To assemble hydraulic hoses like a pro, having the right tools and equipment is essential for precision, safety, and efficiency. Here are the key tools you’ll need:
-
Hydraulic Hose Crimping Machine
A professional-grade device used to crimp fittings securely onto hydraulic hoses, ensuring a tight, leak-free seal. -
Manual Hydraulic Hose Crimper
Ideal for smaller tasks or field repairs, this tool offers portability and simplicity for basic crimping needs. -
Portable Hydraulic Hose Crimper
Designed for on-the-go applications, it combines mobility and functionality, making it a versatile choice for emergency repairs. -
Hydraulic Hose Assembly Equipment
Includes additional tools like cutting saws, skiving tools, and measuring instruments to prepare hoses for assembly.
Having these tools ensures a seamless assembly process, reducing the risk of system failure due to poor connections or inadequate crimping.
Preparing for Hydraulic Hose Assembly
Proper preparation is the foundation of an efficient hydraulic hose assembly. Follow these steps to ensure success:
1. Measuring the Hydraulic Hose
- Measure the hose accurately, considering the required length and flexibility for the intended application.
- Account for slack to prevent stress on the hose during movement.
2. Choosing the Right Fittings and Connectors
- Select fittings and connectors based on system pressure, hose diameter, and material compatibility.
- Use fittings designed to withstand high pressures and harsh operating conditions.
3. Ensuring Compatibility and Standards Compliance
- Verify that the hose and fittings comply with relevant industry standards, such as SAE or ISO, to ensure safety and reliability.
- Double-check the compatibility of materials to avoid issues like corrosion or reduced performance.
By preparing thoroughly, you can achieve a durable and efficient hydraulic hose assembly that meets operational demands and safety requirements.
Step-by-Step Guide to Hydraulic Hose Assembly
Step 1: Measure and Cut the Hose
Importance of Accurate Measurements:
Ensuring the correct hose length is critical for optimal system performance and preventing stress on the hose assembly during operation.
Using Appropriate Cutting Tools:
- Use a hose cutting tool or saw specifically designed for hydraulic hoses to make clean, precise cuts.
- Avoid frayed edges, which can compromise the connection and lead to leaks.
- Measure twice and cut once to eliminate waste and errors.
Step 2: Clean the Hose
Avoiding Contamination in Hydraulic Systems:
Contamination is a leading cause of hydraulic system failures. Dust, debris, and oil residues can reduce efficiency and damage components.
Cleaning Methods for Hydraulic Hoses:
- Use compressed air or foam projectiles to clear debris inside the hose.
- Wipe the exterior with a lint-free cloth and solvent if necessary.
- Always inspect for residual particles before proceeding.
Step 3: Attach the Fittings
Selecting the Right Fittings for Your Hydraulic Hose:
- Choose fittings that match the hose's material, diameter, and operating pressure.
- Consider the type of connection required, such as threaded, flanged, or quick-connect fittings.
Positioning the Fitting Properly:
- Insert the hose into the fitting, ensuring it reaches the depth specified by the manufacturer.
- Align fittings accurately to prevent misalignment during crimping.
Step 4: Crimping the Hose
Using a Hydraulic Hose Crimping Machine:
A hydraulic hose crimping machine ensures a secure connection between the hose and the fittings.
Step-by-Step Crimping Procedure:
- Place the fitting and hose assembly into the crimping machine.
- Select the correct crimp die size based on the hose and fitting specifications.
- Activate the machine and apply uniform pressure until the crimp is complete.
- Inspect the crimp to ensure it meets dimensional and quality standards.
Step 5: Testing the Assembly
Conducting Pressure Tests:
- Perform a pressure test to confirm the assembly can withstand operating pressures.
- Use a hydraulic test bench to gradually apply pressure, observing the system for irregularities.
Checking for Leaks and Other Issues:
- Inspect the assembly for visible leaks or fitting looseness.
- Check hose alignment and flexibility to ensure smooth operation.
By following these steps, you can create a hydraulic hose assembly that is reliable, efficient, and safe for use in demanding applications.
Common Mistakes to Avoid
-
Incorrect Fitting Selection:
Choosing fittings incompatible with the hose material or pressure rating can lead to system failures. Always verify manufacturer specifications before selection. -
Improper Hose Length Measurement:
Incorrect measurements can result in too much slack or tension, affecting performance and durability. Remember to account for movement and flexibility requirements. -
Skipping Cleaning Steps:
Failing to clean the hose or fittings introduces contaminants, which can clog or damage the hydraulic system. A clean assembly ensures efficiency and longevity.
Maintenance Tips for Hydraulic Hose Assemblies
-
Regular Inspections for Wear and Tear:
Examine hoses for cracks, leaks, abrasions, or bulges. Regular checks help identify issues before they escalate. -
Ensuring Proper Storage:
Store hoses in a clean, dry, and temperature-controlled environment. Avoid stacking or bending hoses excessively to prevent damage. -
Replacing Worn-Out Assemblies Promptly:
Replace hoses and fittings showing signs of wear to prevent unplanned downtime and system failures.
Why Professional Assembly Matters
-
Benefits of Professional Assembly for Safety and Efficiency:
Experts ensure precise assembly, reducing the risk of errors that could compromise safety. Professionally assembled hoses meet industry standards, offering optimal performance. -
Choosing Reputable Hydraulic Hose Assembly Manufacturers and Suppliers:
Partnering with trusted manufacturers ensures access to high-quality components and expert guidance for your specific needs.
Hydraulic hose assembly requires precision, attention to detail, and the right tools. By avoiding common mistakes, adhering to maintenance best practices, and considering professional assembly, you can ensure your system's safety and efficiency. Investing in quality tools like manual and portable hydraulic hose crimpers enhances assembly accuracy and long-term reliability.


